changing needle on sewing machine
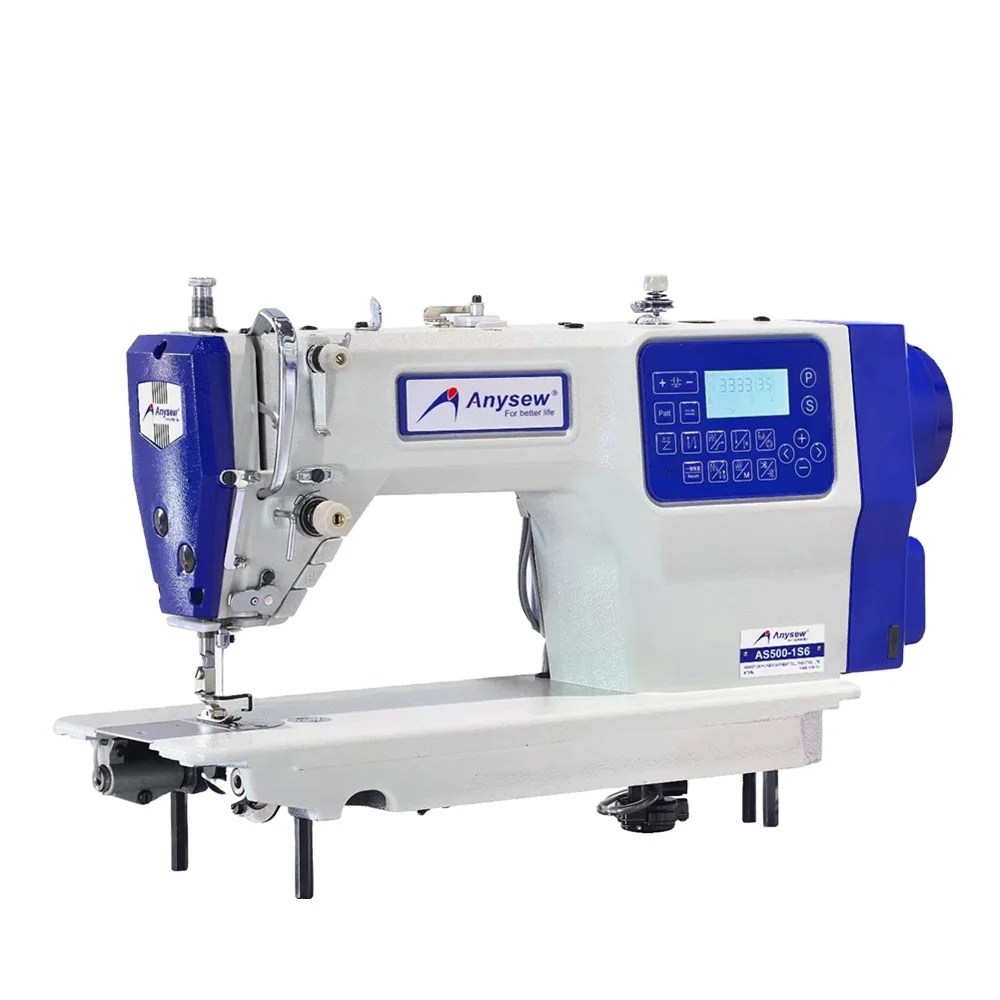
Changing needle on sewing machine is an essential skill that every sewing enthusiast and professional must master to maintain optimal stitching performance. This fundamental maintenance procedure involves removing the old or damaged needle and installing a fresh one to ensure precise, consistent results across various fabric types and sewing projects. The process typically requires loosening the needle clamp screw, removing the existing needle, inserting a new needle with the flat side positioned correctly, and tightening the clamp securely. Modern sewing machines feature user-friendly needle replacement systems designed for quick and safe execution. The technological features supporting changing needle on sewing machine include accessible needle clamps, clear visual guides for proper needle orientation, and standardized needle sizing systems that accommodate universal and specialty needles. Different needle types serve specific applications, from universal needles for general fabrics to ballpoint needles for knits, sharp needles for wovens, and specialty needles for leather, denim, or embroidery work. Regular needle changes prevent common sewing problems such as skipped stitches, fabric puckering, thread breakage, and fabric damage. Professional sewers recommend changing needle on sewing machine after every eight to ten hours of sewing time or when starting a new project with different fabric weights. This preventive maintenance extends machine life, reduces repair costs, and guarantees professional-quality results. Understanding when and how to perform this simple yet critical task empowers users to maximize their machine's capabilities and achieve superior sewing outcomes across all skill levels and project complexities.

 EN