
 EN
EN
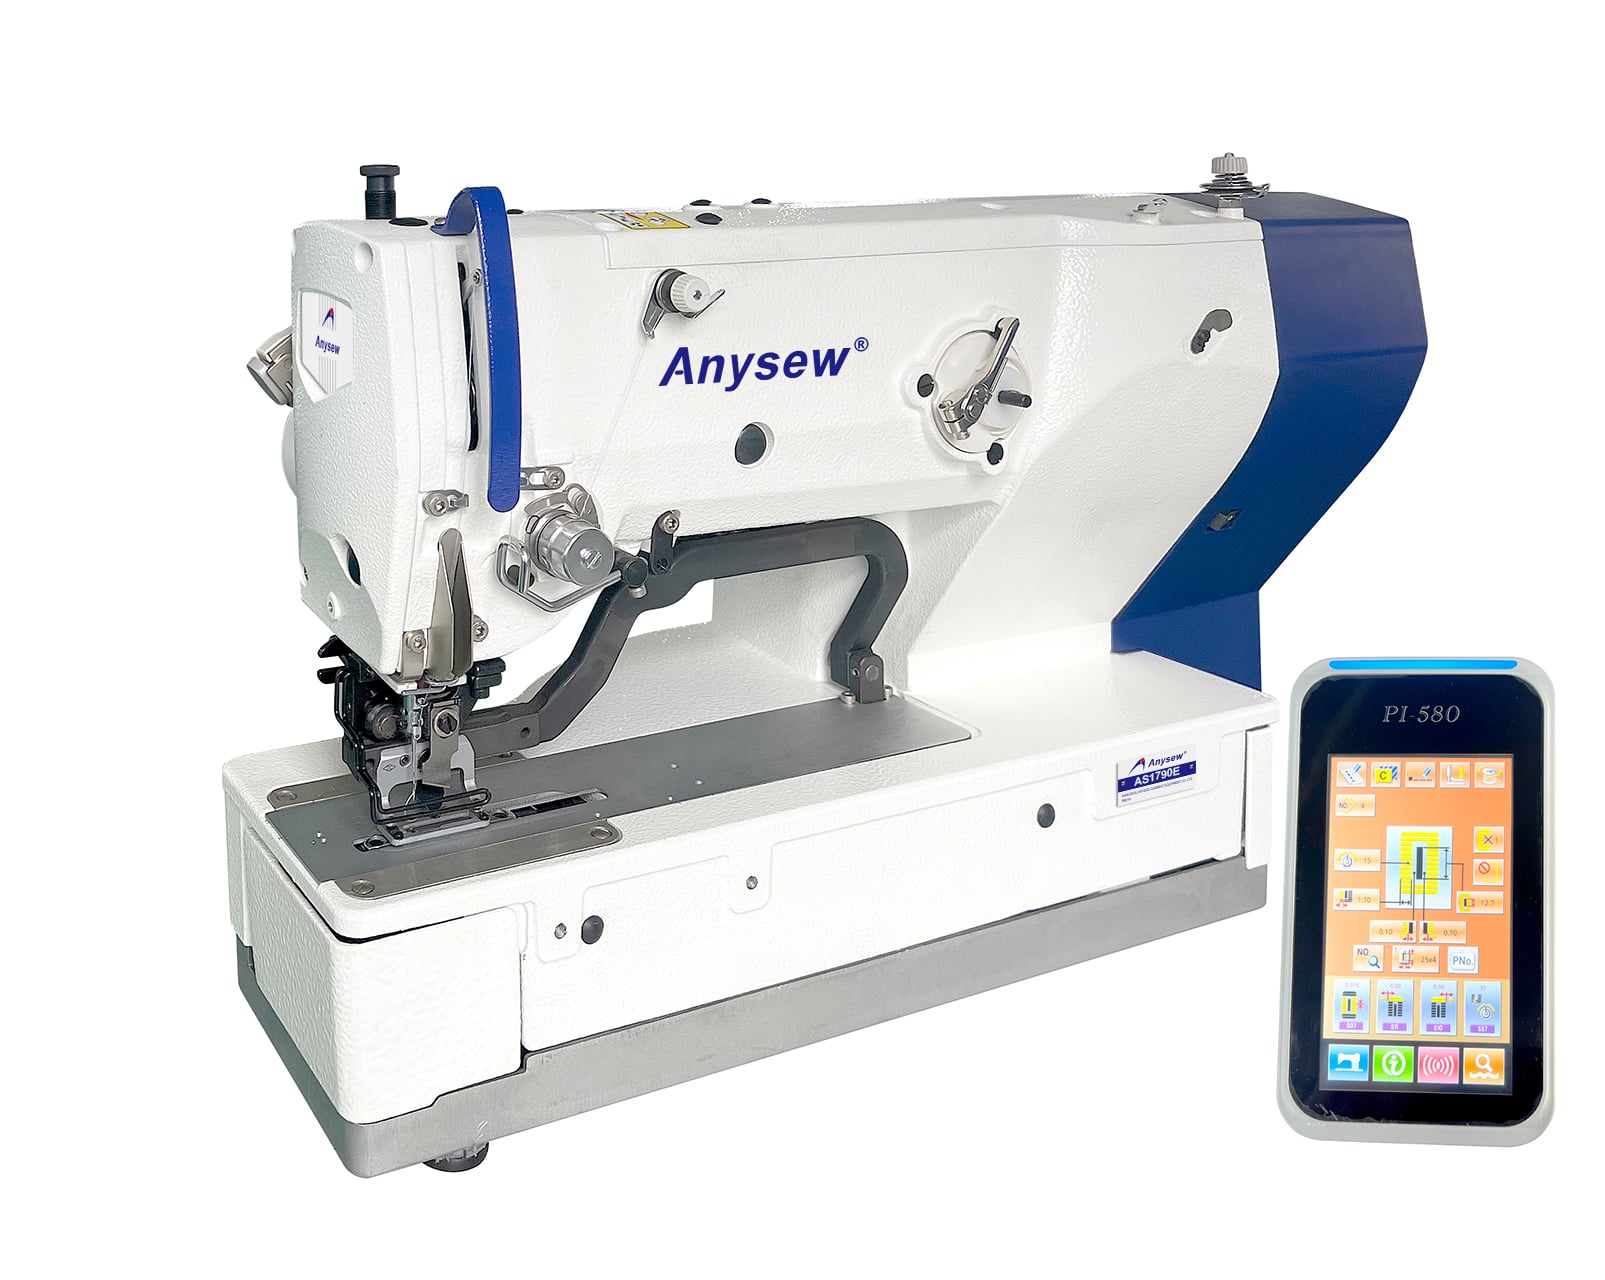
A button machine is an essential tool in apparel manufacturing, alterations, and custom garment production. Whether you work in a professional tailoring shop, a garment factory, or a custom clothing business, your button machine must handle a wide variety of button sizes and styles to meet customer demands. However, many operators struggle with the adjustment process, leading to inconsistent attachment, damaged buttons, and wasted materials. Learning how to adjust a button machine correctly ensures reliable performance across different button sizes while maintaining the quality and durability of each stitch.
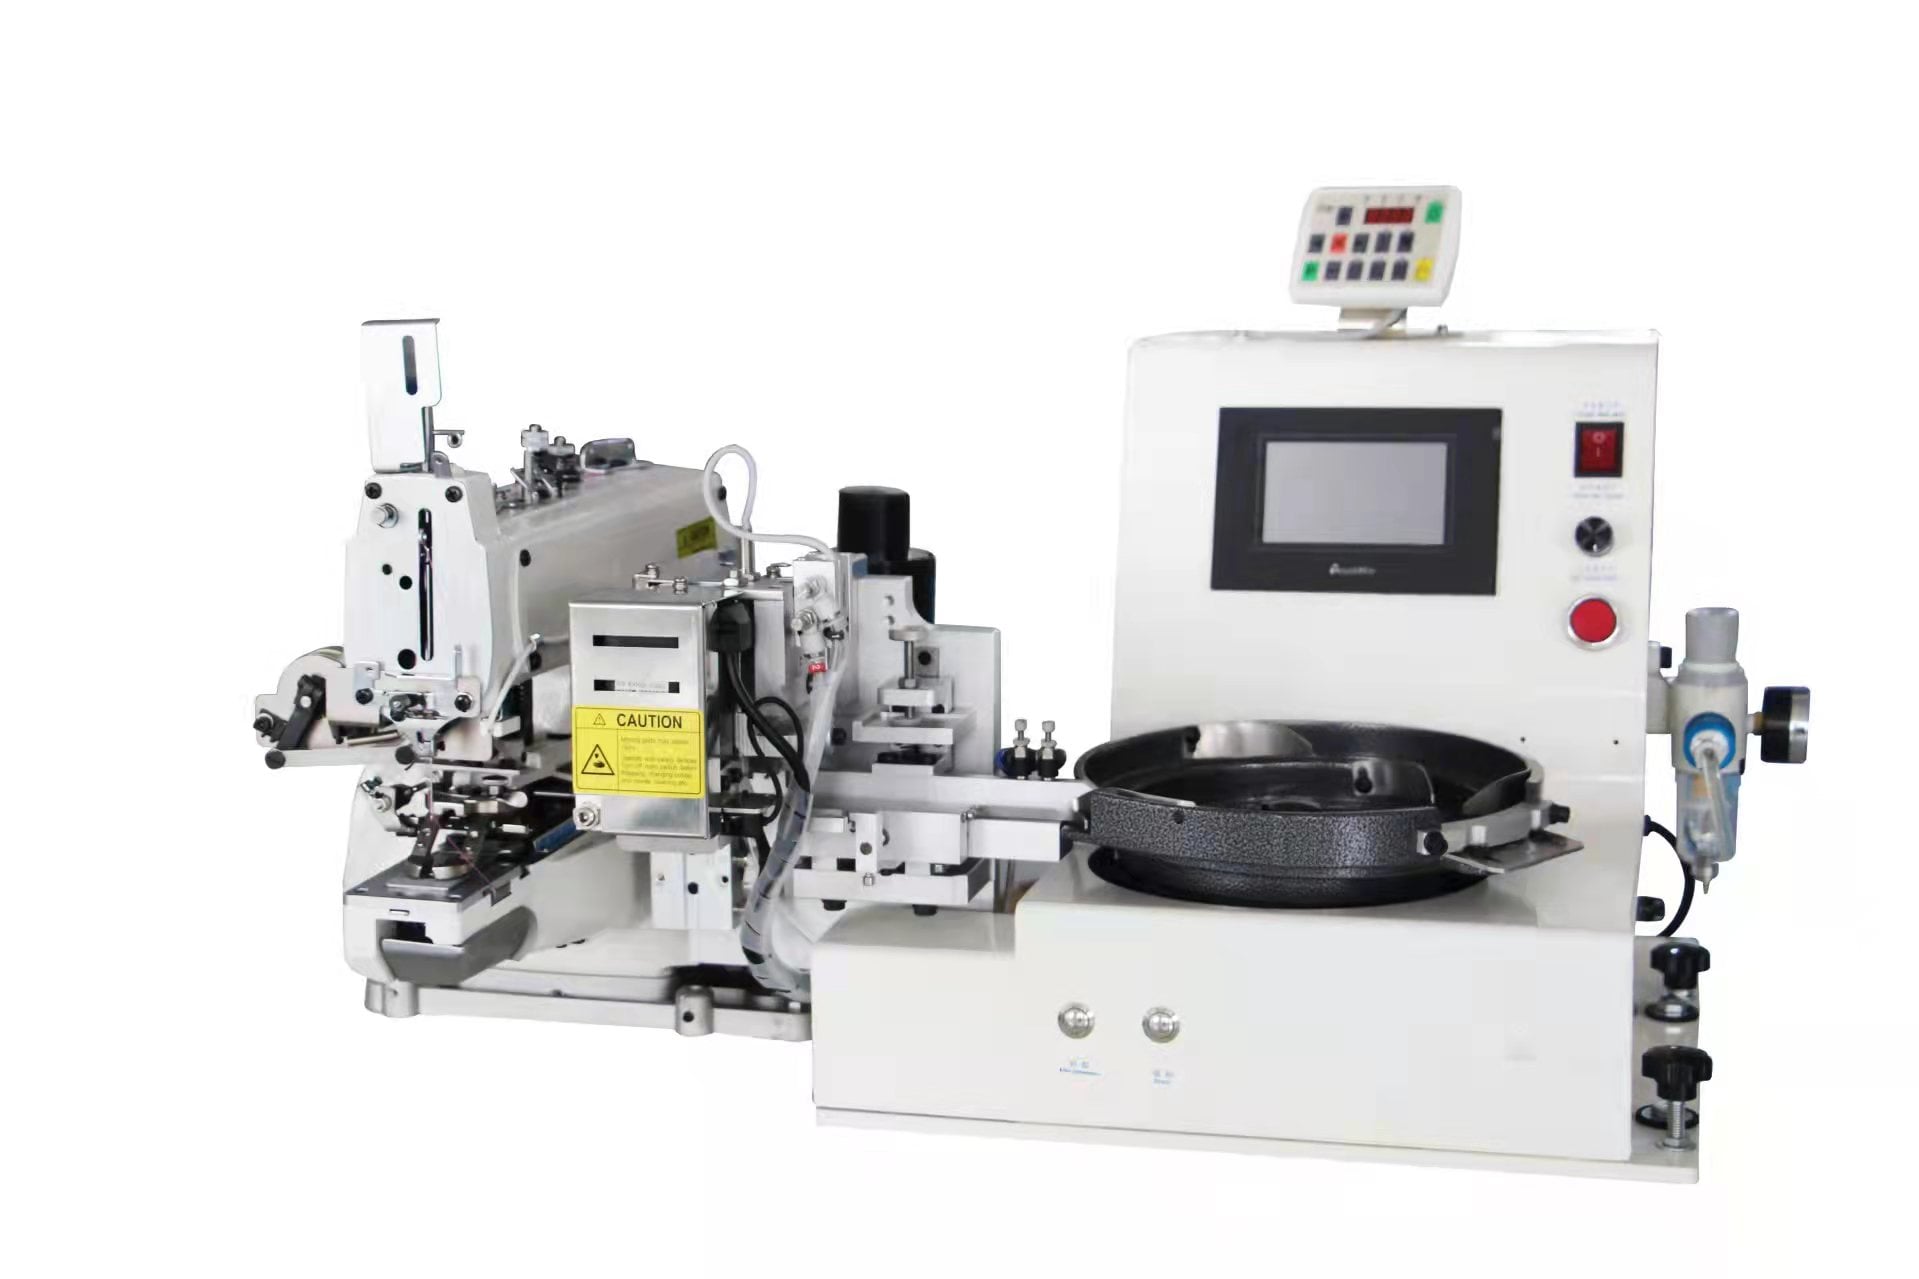
Understanding the mechanical and operational components of your button machine is the foundation for successful size adjustments. Every button machine incorporates multiple adjustment points, including feed mechanisms, pressure settings, needle positioning, and attachment clamps. When you need to switch between small shirt buttons, large coat buttons, and specialty toggle buttons, each adjustment requires precision and attention to detail. This guide walks you through the complete adjustment workflow, helping you maximize your button machine's versatility while minimizing setup time and material loss.
Understanding Button Machine Adjustment Fundamentals
The Core Components That Control Button Sizing
Every button machine contains several key mechanical elements that work together to secure buttons reliably. The button machine's feed mechanism advances fabric under the needle at a precise rate, while the pressure foot holds the material steady during stitching. The needle positioning system determines exactly where each stitch lands relative to the button's holes or shank. When you adjust a button machine for different sizes, you are essentially recalibrating these three systems to match the specific geometry of each button type. Small adjustments in any one component can dramatically affect stitch quality, button security, and material durability.
Why Button Machine Calibration Matters for Production
Improper button machine calibration leads to visible quality defects, customer complaints, and material waste. Stitches that miss button holes create weak attachments that fail under stress. Stitches that are too tight can split delicate buttons or pucker fabric around the button base. Tension that is too loose results in loose buttons that fall off during wear or washing. When your button machine is properly adjusted for the specific button size you are using, stitches align perfectly with button holes, fabric remains undamaged, and buttons stay permanently secured. Investing time in correct button machine adjustment saves money on rework and builds customer confidence in your finished garments.
Step-by-Step Button Machine Adjustment Procedure
Preparing Your Button Machine and Selecting Your Button Size
Before making any adjustments to your button machine, gather all the buttons you plan to attach during your production run. Place a sample button in the button machine's clamp or holder and observe its exact diameter and hole spacing. A button machine requires proper button placement in the attachment assembly for accurate stitching. Most quality button machine models include adjustable clamps or magnetic holders designed to accommodate multiple button diameters. Insert your button and secure it firmly, then rotate the button machine's handwheel manually without power to verify that the needle approaches the button holes at the correct angle. This dry run prevents needle breakage and confirms that your initial setup is mechanically sound before power operation begins.
Adjusting Pressure and Tension Settings on Your Button Machine
The pressure foot on a button machine controls how firmly the fabric and button are held in place during stitching. Too much pressure can distort the fabric or damage delicate button materials, while insufficient pressure allows the button to shift during stitching. Most button machine models have a pressure adjustment dial or lever located near the presser foot mechanism. Start with a moderate pressure setting, then test stitch on scrap fabric identical to your production material. If the button machine produces loose, inconsistent stitches, gradually increase pressure in small increments until stitches tighten. If the button machine creates puckered fabric or the button appears damaged after stitching, reduce pressure slightly. Tension adjustment on your button machine works similarly: light tension suits delicate fabrics and small buttons, while heavier tension provides secure attachment on thick coats and larger buttons. Always test tension adjustments on sample material first to avoid waste.
Mastering Feed Mechanism and Needle Position Adjustments
Configuring Feed Rate and Button Machine Positioning
The feed mechanism of a button machine determines how quickly and smoothly fabric moves under the needle. For a button machine working with very small buttons, you may need to reduce the feed rate to ensure the needle captures every hole without skipping. Conversely, a button machine handling large buttons may benefit from faster feed rates that reduce cycle time without sacrificing quality. Locate the feed rate adjustment dial on your button machine, typically positioned on the side or front of the machine housing. Make one adjustment at a time, then perform a test stitch on production fabric with your target button attached. Evaluate stitch spacing and hole coverage, then fine-tune the button machine feed rate until results are consistent. Additionally, check your button machine's needle position adjustment, which controls the lateral alignment of the needle relative to button holes. Many button machine operators overlook this critical setting, resulting in stitches that miss holes or create asymmetrical patterns. Use the position adjustment knob on your button machine to center the needle perfectly between button holes before locking the setting.
Testing and Validating Your Button Machine Adjustments
After completing all adjustments to your button machine, conduct a comprehensive test series using actual production fabric and buttons. Stitch a sample button onto a large test swatch, then perform a manual pull test to verify attachment strength. The button should not rotate, shift, or show signs of loose threads when pulled firmly. Examine stitch coverage inside each button hole; ideal coverage shows thread passing through each hole multiple times, creating redundancy if one thread breaks. Check for fabric puckering, thread breakage, or button damage around the attachment area. If your button machine produces consistent, high-quality stitches on this first test sample, you can proceed to production with confidence. If issues appear, return to your button machine's adjustment dials and make incremental corrections rather than wholesale changes. Keep detailed notes about which button machine settings worked best for each button size and fabric type; this record saves setup time when you rotate back to those specifications in future production runs.
Advanced Button Machine Adjustments for Specialty Buttons
Handling Toggle Buttons and Shank-Style Attachments
Toggle buttons and shank-style buttons present unique challenges that require different button machine configuration than standard flat buttons. A shank-style button features a hollow post underneath instead of two or four holes drilled through the button face. Your button machine must allow enough clearance beneath the button for this shank while still creating secure stitches that wrap around the shank base. Some button machine models include a special shank-button attachment or guide that lifts the button higher in the clamp, providing the necessary clearance. Consult your button machine's instruction manual to locate and install this optional accessory. For toggle buttons, which often feature a thick material and wide span between attachment loops, your button machine's pressure and needle position become even more critical. The button machine's needle must penetrate both loops cleanly without striking the toggle body itself. Test your button machine extensively with toggle samples before production, as shank and toggle attachments demand more precise button machine calibration than standard buttons.
Adjusting Your Button Machine for Thick Coatings and Decorative Buttons
Decorative buttons made from resin, wood, or specialty materials often feature thicker walls and harder surfaces than standard plastic or shell buttons. Your button machine encounters increased resistance when stitching through these materials, potentially causing needle deflection or thread breakage if settings are not optimized. For thick-material buttons, increase the button machine's pressure setting incrementally while carefully monitoring needle position. The button machine's motor may labor if feed rate remains too fast, so reduce the button machine's feed rate by 15 to 25 percent when working with heavy decorative buttons. Many operators also find that slightly looser tension on a button machine allows thread to flow more freely through dense button materials without creating stress points. After each button machine adjustment, test a few sample stitches before committing to a full production batch.
FAQ
How often should I recalibrate my button machine when switching between different button sizes?
You should recalibrate your button machine every time you switch to a significantly different button size or style. Small variations within the same button category (for example, moving from 18mm to 20mm plastic buttons) may require only minor pressure or tension tweaks. However, switching from small shirt buttons to large coat buttons, or changing from flat buttons to shank-style attachments, demands a full button machine adjustment sequence. Keep a calibration log documenting which button machine settings produced quality results for each button type; this saves time and reduces waste during future production runs with those same buttons.
What should I do if my button machine keeps breaking needles when I switch to larger buttons?
Needle breakage on a button machine typically indicates that either the pressure setting is too high, the button machine's needle position is misaligned, or the needle itself is worn and due for replacement. First, reduce the pressure on your button machine by one or two notches and test again. If breakage continues, examine your button machine's needle holder to confirm the needle is seated fully and at the correct angle. Worn or dull needles are more prone to breaking when your button machine encounters resistance from larger, thicker buttons, so install a fresh needle and retry. If problems persist, consult your button machine's instruction manual or contact the manufacturer for mechanical inspection.
Can I adjust my button machine to work with buttons of many different sizes without constantly recalibrating?
Complete flexibility is not practical, but a button machine can work across a modest size range with thoughtful initial setup. Set your button machine's pressure, tension, and feed rate to compromise values that accommodate small, medium, and large buttons reasonably well. However, this approach typically sacrifices some quality and speed compared to fully optimized button machine settings for each specific size. For professional production environments, it is more efficient to perform complete button machine calibration when batch size justifies the setup time. Smaller custom operations may prefer the compromise settings to minimize adjustment time between orders.